In our Sections Dashboard, you can create and manage sections for specific topics and content within your site.

To access it, click Sections in the left-hand administration panel or type "YourDomain/r/dashboard/sections" in your browser's URL address bar:
![]()
Once you open the Sections Dashboard, you can:
Add a Section
Remove a Section
Change a Section's Status
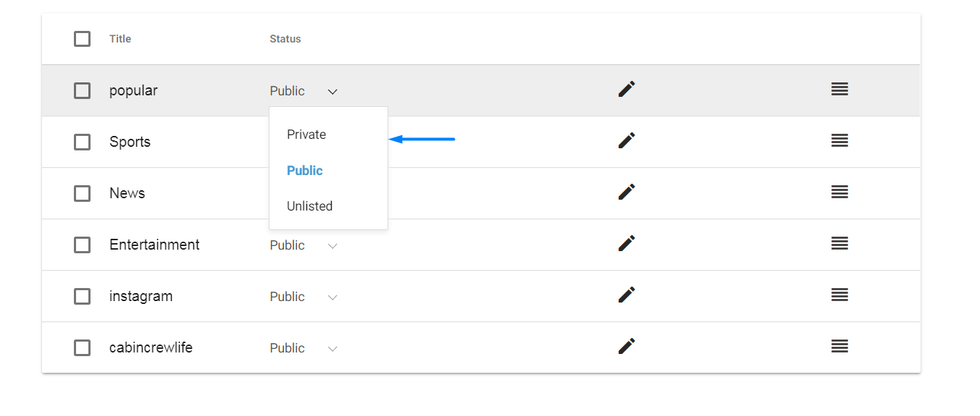
- Public: The section is open to everyone who visits your site and shows up in your site's navigation menu. The articles within this section are fully public.
- Private: The section is only visible to your administrators and will not show up in your site's navigation menu. The articles within this section will return a 404 error for anyone who's not logged in to your site with an administrator account.
- Unlisted: The section is only accessible by URL and will not show up in your site's navigation menu. The articles within this section will be visible to the public if they have the links to those specific posts.
Reorder Sections
You can reorder sections as they would appear on your site using drag-and-drop functionality.
Pin a Post to a Section
In order to pin a post to a section from the Posts Dashboard, you must first make the following code adjustment (order="manual") in Layout & Design Tool to allow you to manually adjust the order of posts in a section.
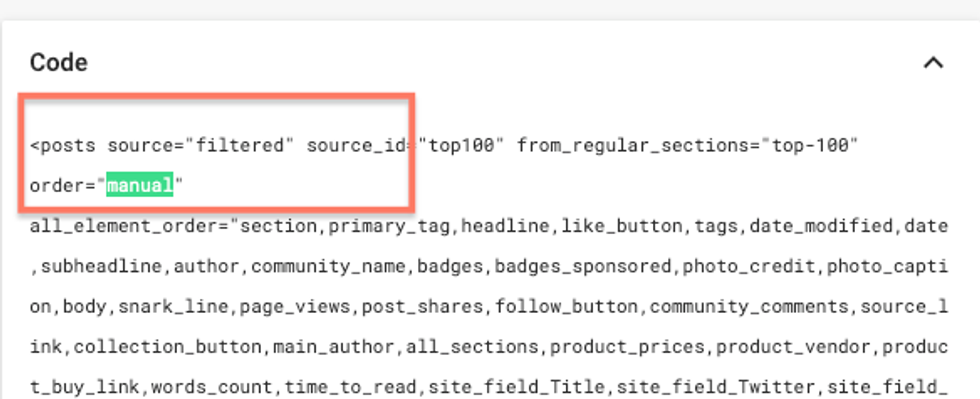
Please contact support@rebelmouse.com or your account manager if you need help with this.
Once that code tweak has been completed, you're ready to begin pinning posts to sections.
To do so, navigate to the post you want to pin in your Posts Dashboard, select one of the sections it's currently in to bring up a pop-up overview, and click the Pin button as needed. When you're done, click Save. Here's a quick video of the functionality in action:
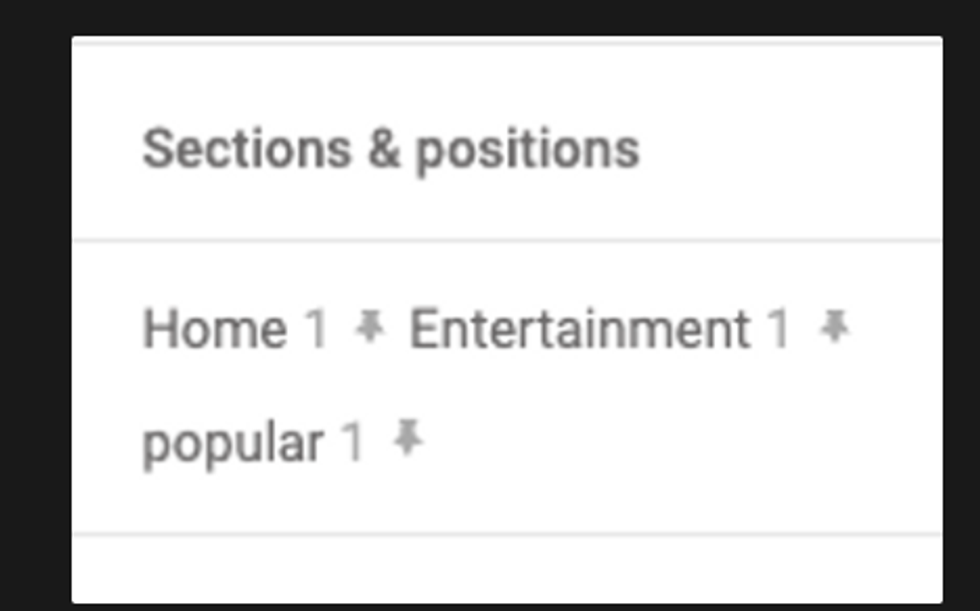
When a post is pinned, in the Posts Dashboard you'll see a pin icon next to the name of the section it's been pinned to, as well as the current position it's in.
It's important to note the following when manually ordering and pinning posts across your site:
- Changes you make will affect the posts order across all of your site.
- If the pinning order isn't working, you may need to disable the following incompatible filters:
- Manual ordering does not work with the:
- Manual ordering limitedly works with the:
- IDs Filter (only exclusions)
- Sections Filter (failing when there's more than one included section; phasing when there are excluded sections)
Access Section Details
Where you have the option to adjust the following in each section:
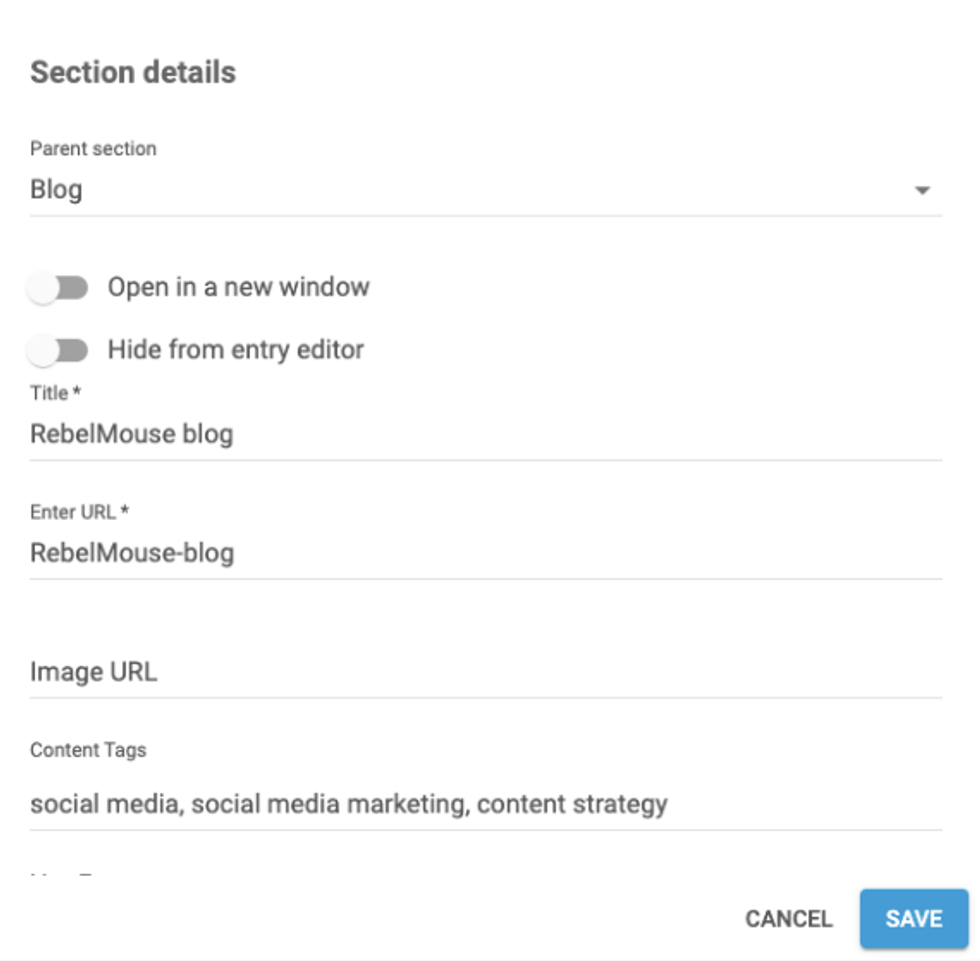
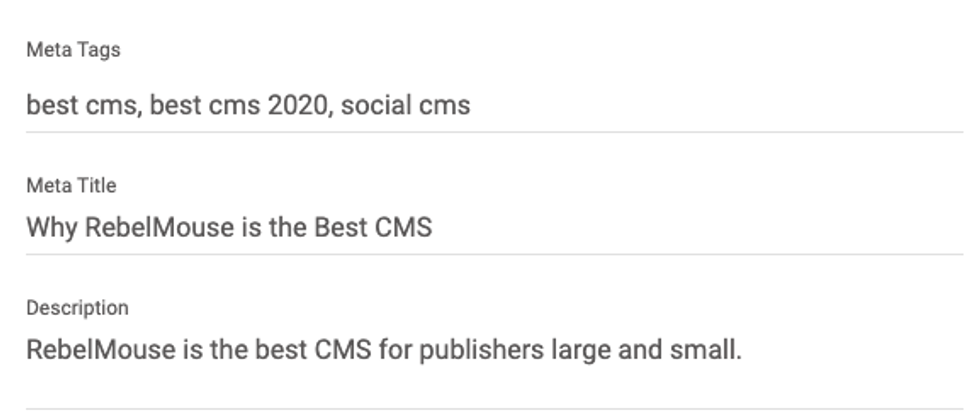
- A section's meta title, description, and keywords, for example. Your section's meta information is what you would like Google to take into consideration when crawling the page.
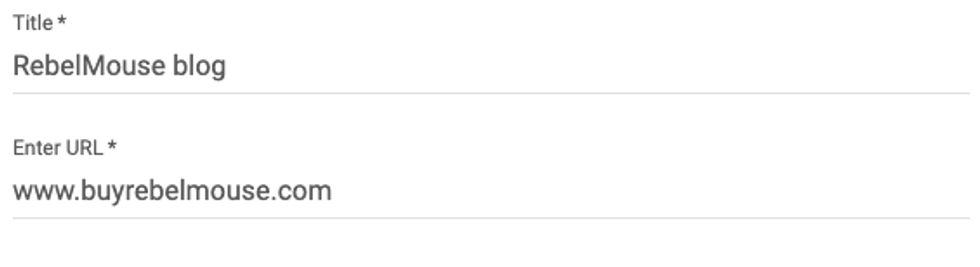
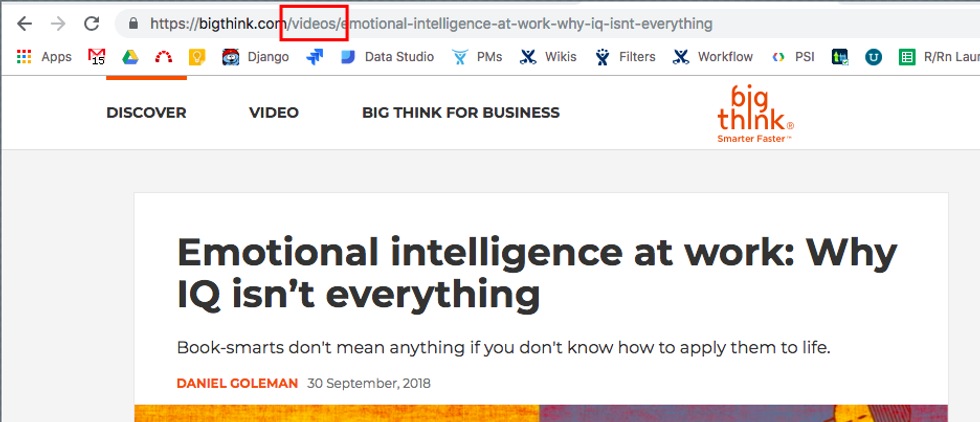
- A section's URL slug, while keeping the section's name the same. You can always link out to a different URL you want a section to go to. For example, an online shop.
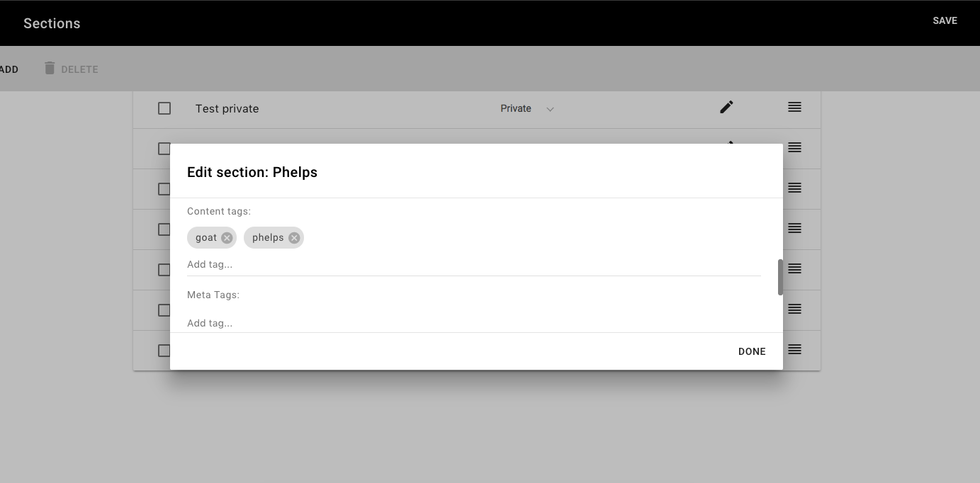
- Content tags allow you to automatically pull in any post with the same tag to a section. For example, you may want to start a new section called "Products." Adding the content tag "products" will add any existing post with that tag (and any newly created posts with that tag) to the Products section. Unlike meta tags, content tags are specific to your site's content structure and organization.
- We have multiple types of content tags:
- Content Tags: Any tag added as a content tag will add the posts with that tag to the related section.
- Plus Tags: These are added in a similar fashion as Content Tags, but you add a + to the tag, such as +shoes, or +blouses.
- A post needs to have all Plus Tags added to a section to be pulled into the related section.
- For example, if you have a section called "Products" with the tags +shoes and +blouses, a post would have to have both tags (shoes and blouses) in order to be added to the related section.
- Plus Tags only work on historic content, so newly created posts with Plus Tags still need to be added to the related section manually.

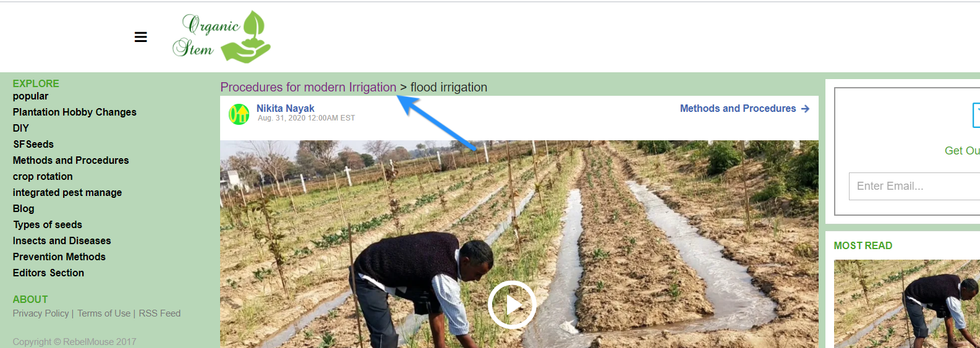
- You can add a Breadcrumb Title to any section.
![]()
Once live, the title will be displayed in your site's breadcrumb, or user path, instead of the section's actual name. Click here to learn more about breadcrumbs. Click here to learn more about breadcrumbs on RebelMouse.
After making all of your changes, be sure to click Save.
Add an og:image to a Section
From the section details interface, you will see an "Add Cover Photo" button at the top. Simply click and add an image from your local machine and it will be added as the og:image for that section.
![]()
This will make the image selected shareable when someone links to your section page through social media. If you want the section page to also display the image, you will need to add a bit of custom HTML to the section portion of Layout & Design Tool. The following code is an example of what works to display the image:
<img src="{{subpage.url_header_image}}" style="display: flex; margin: 0 auto;" />
Legacy Rules for Post Tags and Section Content Tags
Currently, the logic of tags and sections is such that if a tag on a post matches a section content tag, that section will be automatically applied to the post. But this can be unwanted behavior. There is a solution in your site's administrator site extras where we can enable "legacy rules" to make it so that the section is not applied to a post automatically. If you are interested in enabling this feature, please contact your account manager or support@rebelmouse.com.
Sections Visibility
When creating or editing a new section, you will see a drop-down menu titled Visibility.
![]()
There are three visibility options that you can choose from:
- Visible to Users With Publish Permissions: This makes the section visible to all users who have publishing permissions. This includes the roles editor, owner, and administrator. Click here for more information on our user permissions.
- Visible to Everyone: The section will be visible to every user.
- Hidden: The section will be hidden from all users.
By default, newly created sections will be set to Visible to Users With Publish Permissions unless you specify otherwise.
Select a Primary Section
When creating a post in Entry Editor, you have the option to set a primary section for the post. Simply click the "Set as Primary" text that appears when you hover over the section you would like to assign as the primary section.
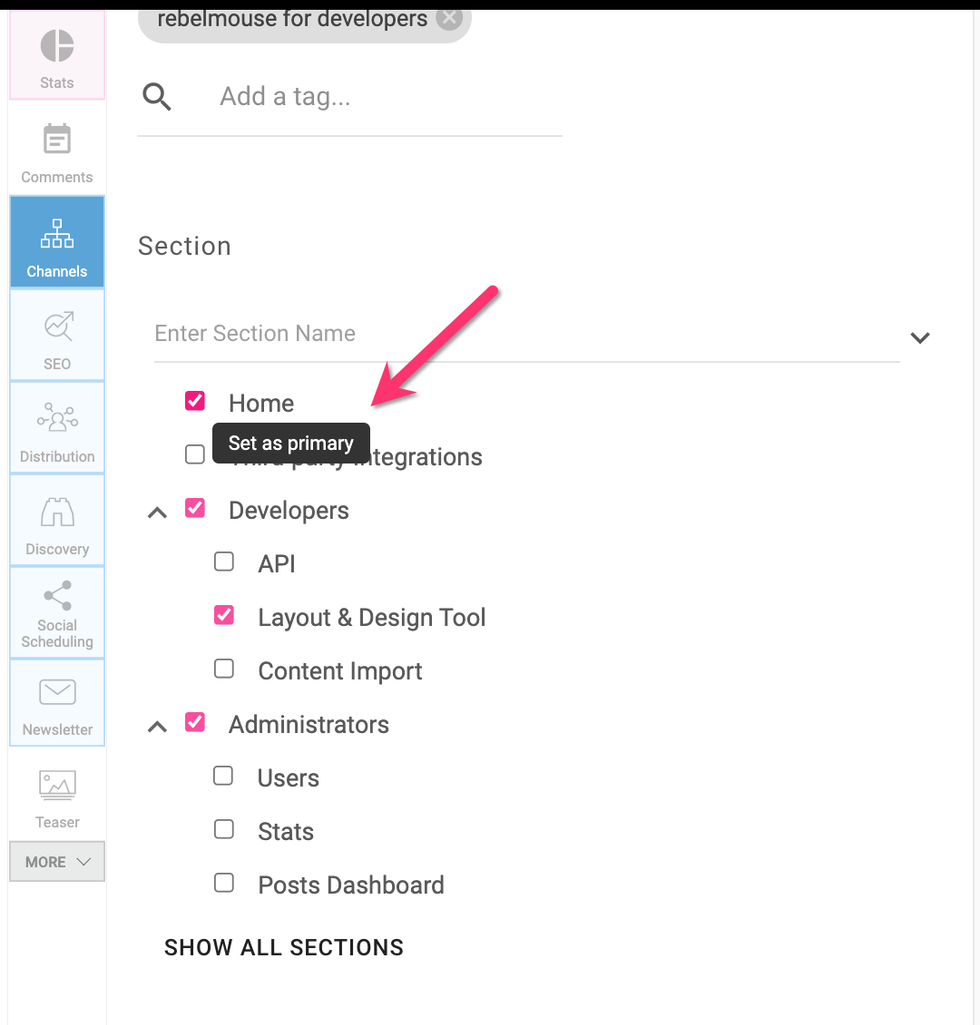
You will now see the label (primary) appear next to your selection.

Depending on what URL setup and site design/styling you have, the primary section:
- Will either be displayed in your post's URL or not.
- Will be displayed in your site's design as the main section label.

Parent-Child Relationships for Sections
You can set up a parent-child hierarchy for your sections. In the video above you can easy how easy it is to set up the right taxonomy for your site.
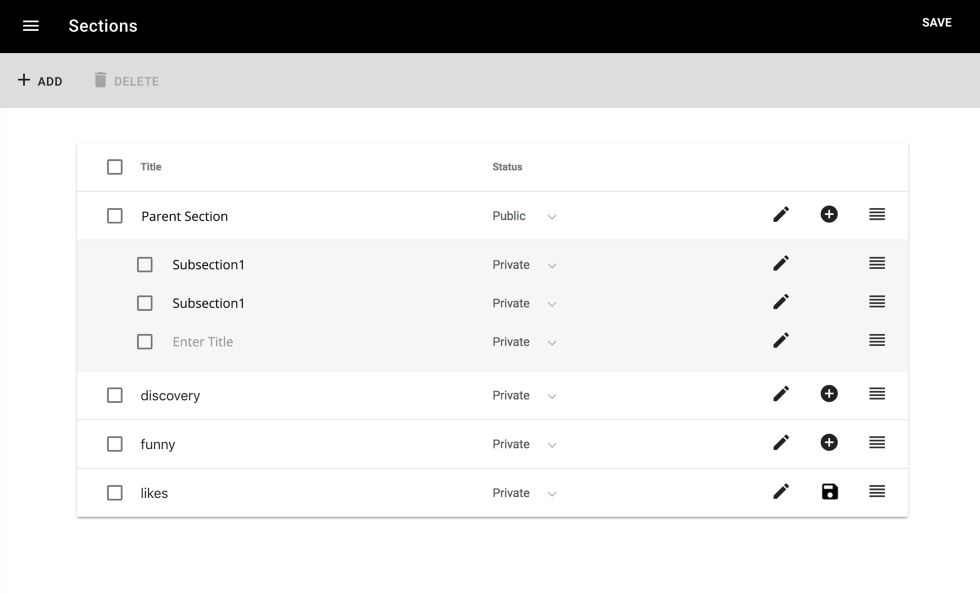
Here's how it looks in Entry Editor:
Here is how the parent-child relationship looks in the Sections Dashboard:
Add/Edit Sections in Posts Dashboard
Easily add, edit, and remove sections for an article within the Posts Dashboard:
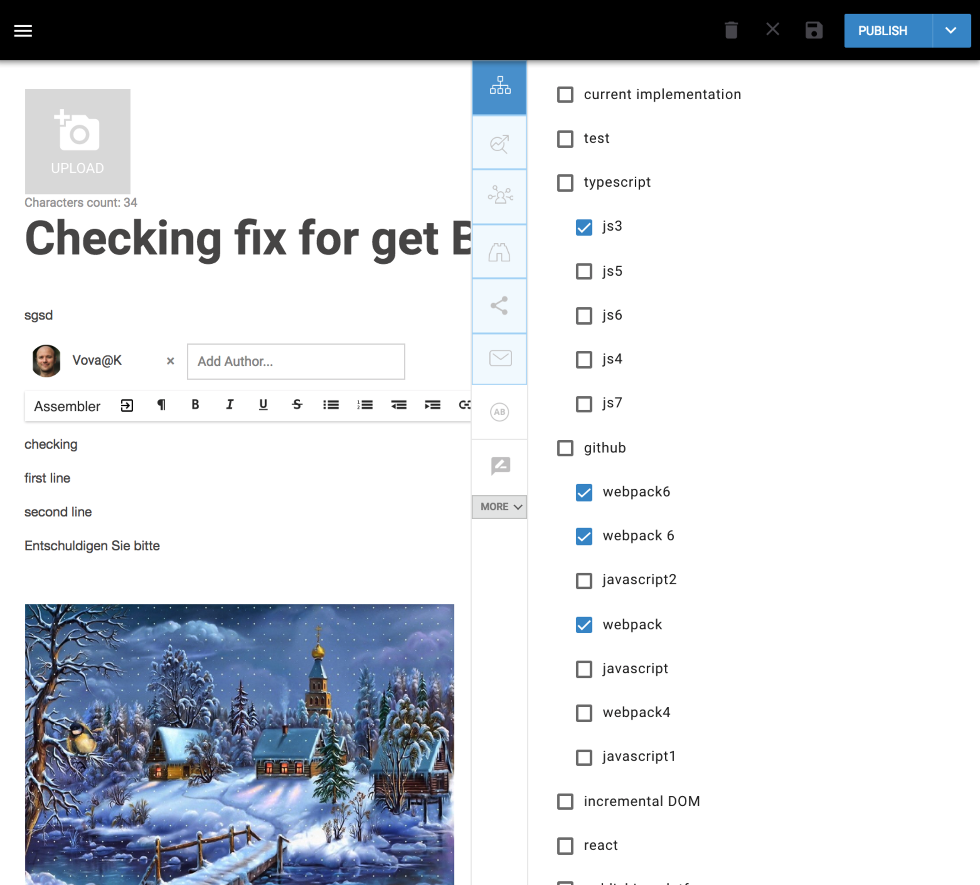
The Channels Tab
To avoid cluttering up the Channels tab, we've made it so that the top five sectionsthat you have organized in your Sections Dashboard are shown in the Entry Editor.
You can easily find and add other existing sections using the new search field below your top five categories. You can also display all of your sections using the Show All Sections button:
Using the same search field, you can also add a new section instantly:
Content Ingestion AND/OR Logic
We have an option in the Sections Dashboard where you can add content tags to be automatically ingested:
By default, tags added behave like an OR clause. So if you add "music", "video," and "tv", it will ingest music OR video OR TV-tagged content.
With "+" logic added at the beginning of a tag, if you do "+video" and "+music," that section will ingest posts that have both tags only. It won't ingest a post that has only the tag "video," for example. So it behaves like an AND clause.

If you have any questions about the Sections Dashboard or your own site's architecture, please contact support@rebelmouse.com.
![Best CMS for News Websites and Large-Scale Publishing [2024]](https://www.rebelmouse.com/media-library/image.png?id=51952819&width=600&height=600&quality=85&coordinates=350%2C0%2C350%2C0)


